
How to set up an AI provider in rConfig V8
How to set up an AI provider in rConfig V8
Section titled “How to set up an AI provider in rConfig V8”After reading this page, you can add an AI provider in rConfig V8, test the connection, activate it, and understand which environment flag controls whether AI features are reachable at all.
When to use this
Section titled “When to use this”Use this page the first time you enable AI features in rConfig, or when you need to switch providers, rotate an API key, or point rConfig at a different local model endpoint.
Prerequisites
Section titled “Prerequisites”- Admin role: the AI Settings and AI Configuration tabs are hidden from non-admin users
- Credentials for the provider you’re connecting: an API key for a cloud provider, or the URL of a reachable local/self-hosted endpoint for Ollama or an OpenAI-compatible server
- The
AI_CENTER_ENABLEDenvironment variable set totrue(see below). This is the master switch that makes the whole AI Center reachable
Enable the AI Center feature flag
Section titled “Enable the AI Center feature flag”AI_CENTER_ENABLED is not present in a default .env file and defaults to false. Add it manually:
AI_CENTER_ENABLED=trueStep-by-step walkthrough
Section titled “Step-by-step walkthrough”1. Open AI Settings
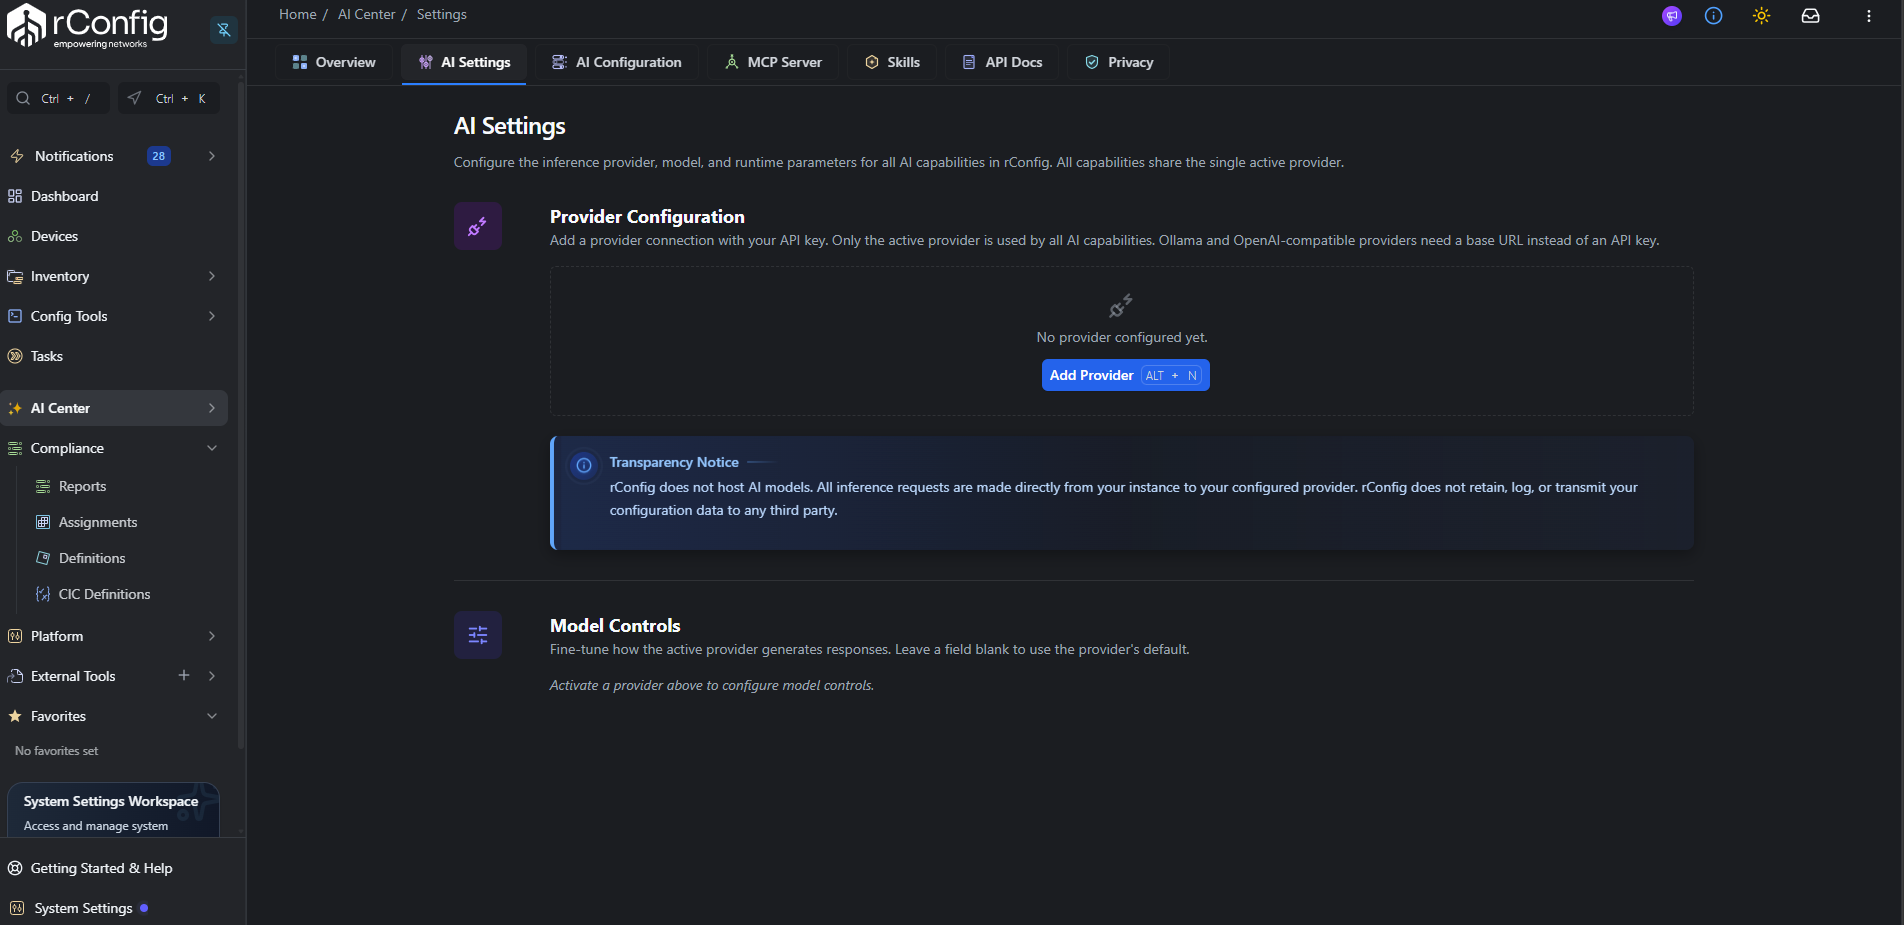
Section titled “1. Open AI Settings”- Click AI Center in the left sidebar.
- Select the AI Settings tab.
If no provider has been configured yet, you’ll see an empty state: “No provider configured yet.” with an Add Provider button.
2. Choose a provider type
Section titled “2. Choose a provider type”Click Add Provider and select one of six provider types:
| Provider | Requires API key | Requires endpoint URL |
|---|---|---|
| OpenAI | Yes | No |
| Anthropic | Yes | No |
| Google Gemini | Yes | No |
| Azure OpenAI | Yes | No |
| Ollama | No | Yes |
| OpenAI-compatible | No | Yes |
Ollama and OpenAI-compatible are the BYO-LLM path: point either at a local or self-hosted inference server and no API key is required. With a local endpoint, inference stays entirely on your network: rConfig only forwards the request to the address you configure, it doesn’t call out to a public API.
3. Fill in the provider form
Section titled “3. Fill in the provider form”- Display name: a name for this configuration, shown on its card (for example, “Production OpenAI” or “On-prem Ollama”)
- Provider: one of the six types above
- API key: required for OpenAI, Anthropic, Gemini, and Azure
- Base URL: required for Ollama and OpenAI-compatible; this is the address of your inference server
- Model: leave blank to use the provider’s default model
- Max output tokens: the maximum length of a single AI response, from 256 to 32768. Leave it blank to use the provider’s own default, which varies by provider.
- Temperature: response randomness, from 0.0 (deterministic) to 1.0 (most varied). Leave it blank to use the provider’s own default, which varies by provider.
4. Test the connection before saving
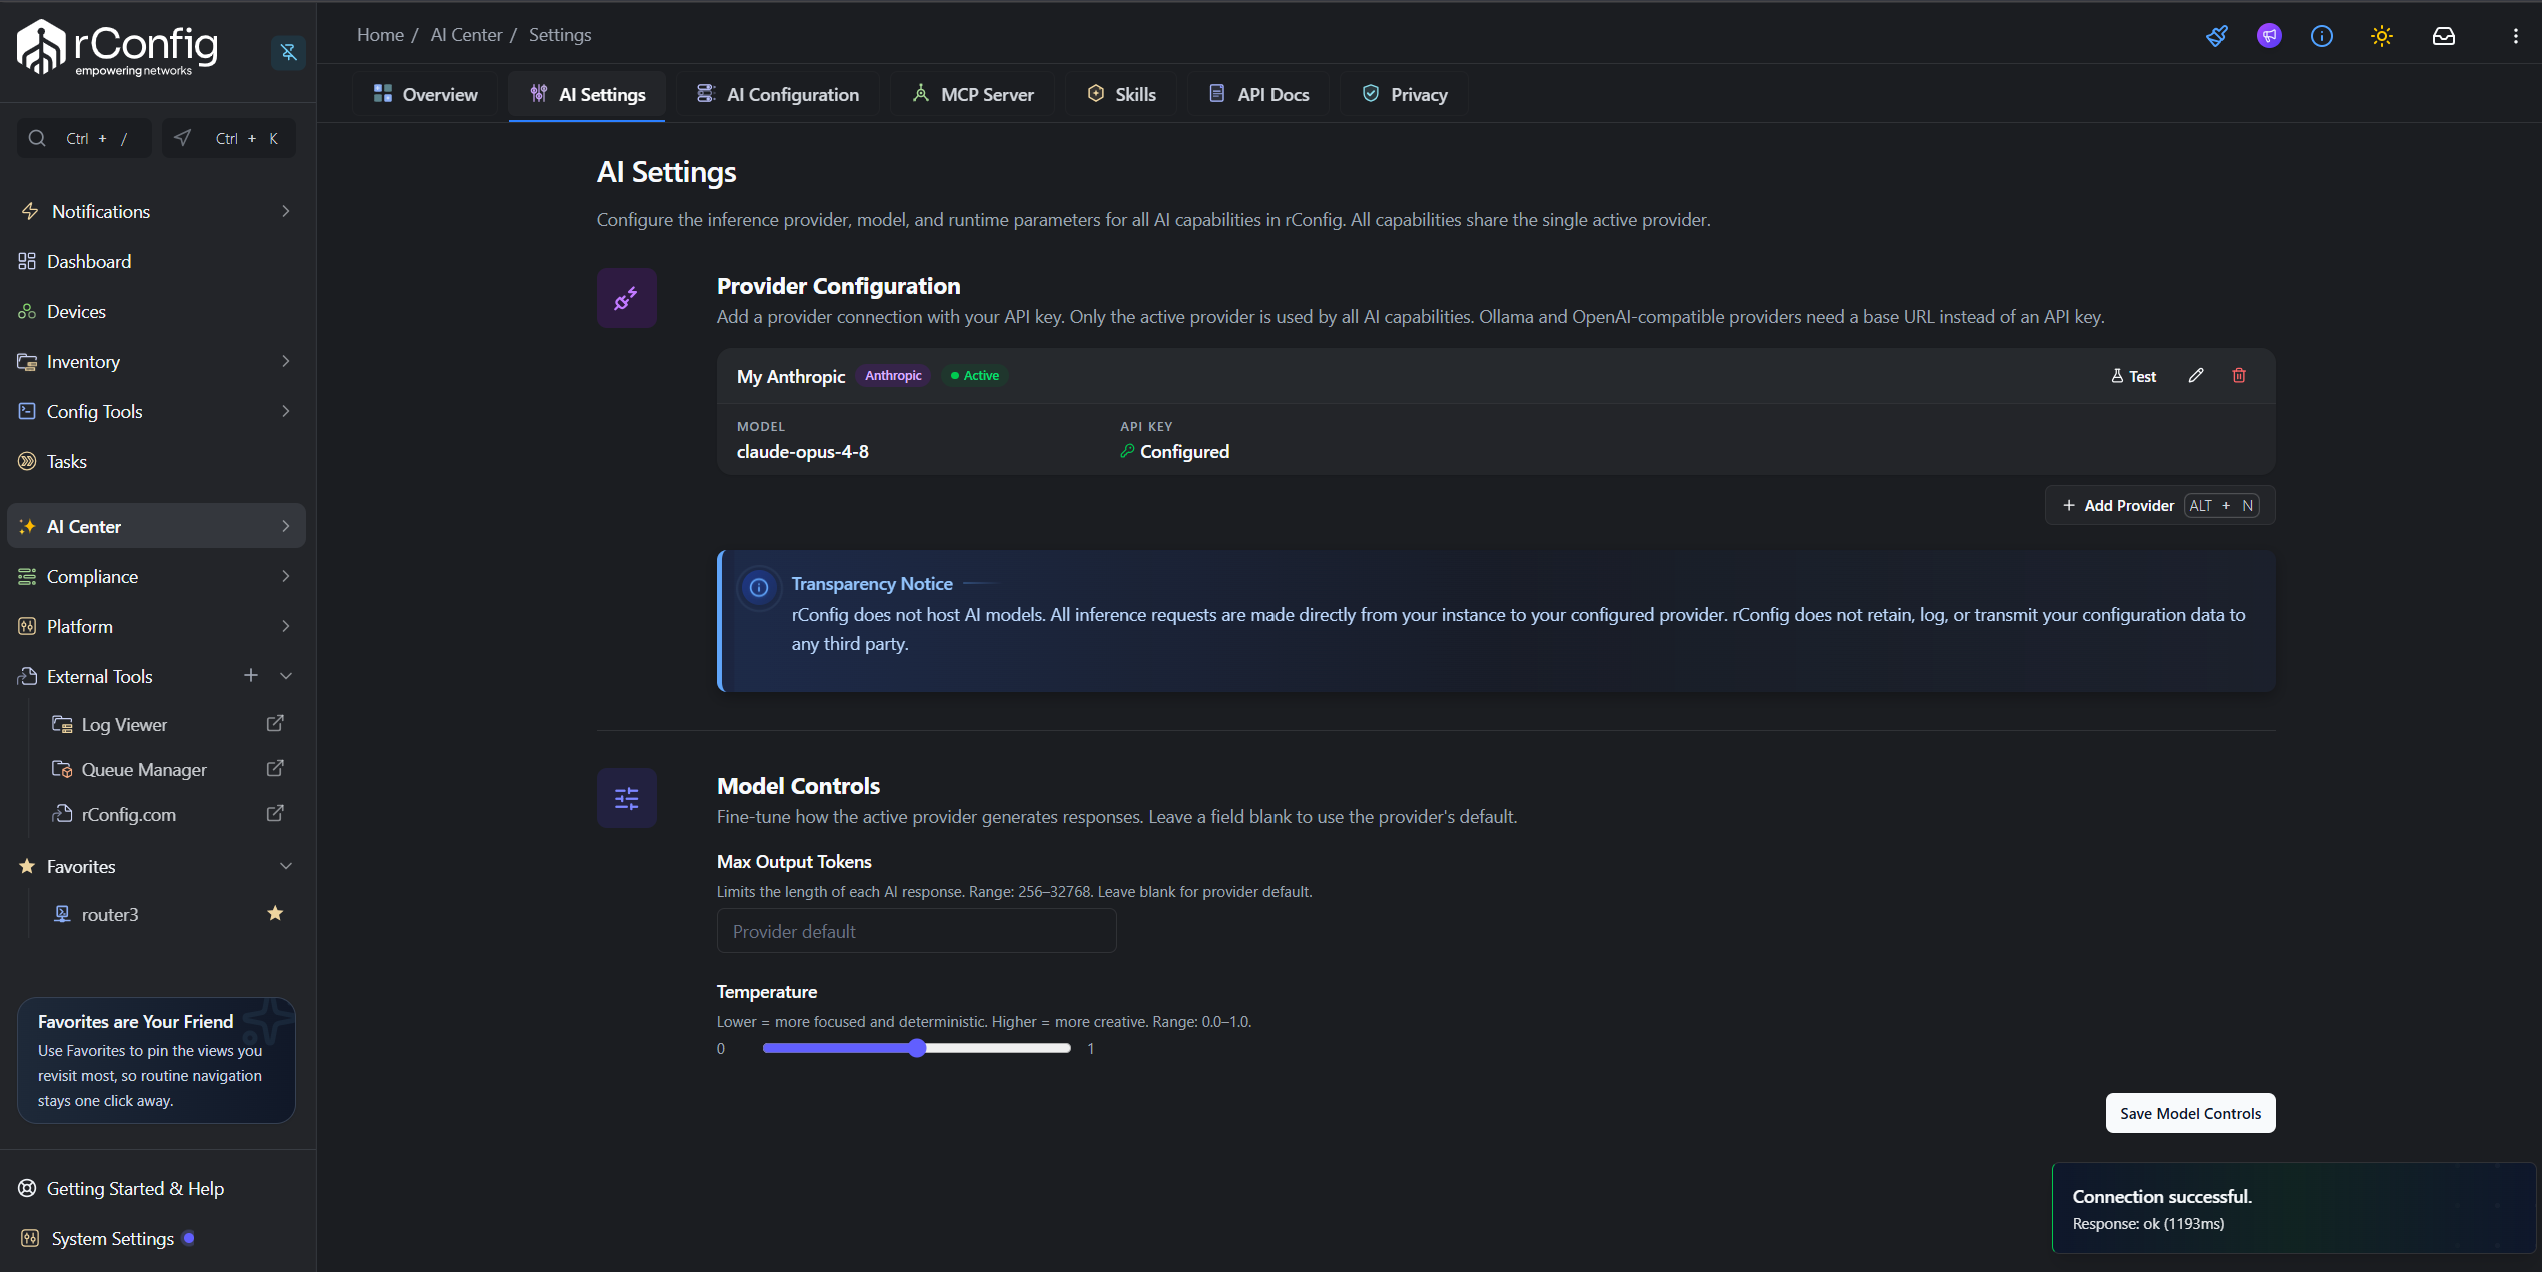
Section titled “4. Test the connection before saving”Click Test on the provider form (or on an existing provider’s card, using its saved credentials). rConfig sends a one-word test prompt to the provider and reports back the response and round-trip latency in milliseconds. Fix any connection error before activating.
5. Save and activate
Section titled “5. Save and activate”Click Save. You can save multiple provider configurations (for example, a cloud provider and a local fallback), but only one is active at a time. Click Activate on the provider you want live; activating a provider automatically deactivates any other.
All four in-app capabilities and the Optimization Assistant use whichever provider is currently active. There is no per-capability provider selection.